Since ArcSight Protect 2010 in September 2010, the Logger model L750MB has been integrated in the ArcSight Logger product catalog. In our previous blog post we have analyse the Logger L750MB features and limits. We will resume here some of the features and limitations provided by L750MB and provide an installation guide for Centos 5.x
Features :
Connector appliance features are disabled.
Alerting module features are enabled.
Reporting module features are enabled.
SAN storage feature is disabled.
Logger peering features are disabled.
Limits :
10 devices maximum supported.
Maximum number of daily collected data is 750 MB
EPS rate is limited to a maximum of 60
maximum data retention is 50 GB
OS & Hardware requirements
You can install L750MB Logger on these following certified operating systems :
Red Hat Enterprise Linux (RHEL), version 5.4, 64-bit
Oracle Enterprise Linux (OEL) 5.4, 64-bit
CentOS, version 5.4, 64-bit
or on these others supported operating systems :
Red Hat Enterprise Linux (RHEL), version 4.x, 64-bit
CentOS, version 4.x, 64-bit
Virtual Machine installation of the above listed OS is supported. You will not able to install the Logger on an existing machine how is running MySQL or PostgreSQL. We recommend you a complete dedicated operating system for the installation. You will also need a synchronized NTP for all your infrastructure. A synchronized time is a key factor for Log Management. After the installation you will need one of the following supported browser, with Adobe Flash Player plug-in :
Internet Explorer: Versions 7 and 8
Firefox: Versions 3.0 and 3.5
For hardware requirements we recommend you :
CPU : 1 or 2 Core
Memory : 4 – 12 GB
Disk Space : 120 GB
Storage strategy & retention policy requirements.
As ArcSight Logger L750MB has a limit of 50GB maximum data retention, your storage strategy and retention policy will be simple to define, just follow the ArcSight recommended installation, and then we will change it by the ArcSight Logger Web interface.
By the recommended installation ArcSight Logger will initialize the Storage Volume to the maximum authorized, aka 50 GB, and the Storage Volume has to be on local disk, on a NFS, or SAN mount point. You will not be able to increase the size of the Storage Volume above 50GB with the L750MB, and once the Storage Volume size is configured the only way to resize the Storage Volume is to reinstall every thing.
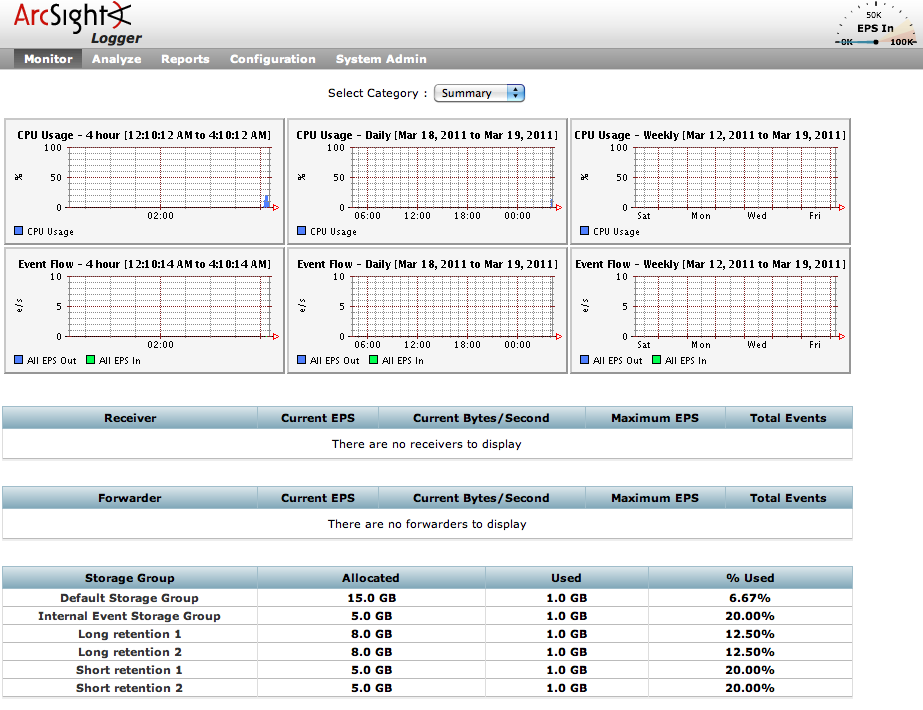
Also, with the recommended installation ArcSight Logger will initialize the maximum of 6 Storage Groups. Two of these Storage Groups are inherent to the Logger and are named “Default Storage Group” and “Internal Event Storage Group“. if you choose to not create the maximum of 6 Storage Groups, you will not further able to create more Storage Groups. Here under the default Storage Groups configuration :
[TABLE=14]
You will be able to resize all Storage Groups, we recommend you to, until you understand the concept of “Devices”, “Device Groups” and “Storage Rules”, to not touch the “Internal Event Storage Group” definition and to provided the maximum size to the “Default Storage Group“. You will have then this configuration :
[TABLE=15]
Installation
First of all you will need an updated Centos 5.4 installation, just follow the Centos installation procedures. You will need to configure IP addresses, DNS and NTP configuration before starting the Logger installation procedure. As ArcSight Logger
Create an arcsight user and group :

Give a password to the arcsight user :

Upload “ArcSight-logger-5.0.0.5355.2.bin” installation binary and your “arcsight_logger_license.lic” license file in the arcsight home directory.
Make the installation binary executable :

To install the Logger in console mode execute the following command :

On the first prompt press enter to display the license agreement and accept the terms of agreement.

Provide the installation directory, in “/home/arcsight”, and then press enter to begin the continue the installation.


After the end of the installation, you will need to press “enter” to initialize the Logger. This initialization may take several minutes.


When initialization is done you will have to configure the Logger, by a configuration wizard. To start this wizard in console mode, please type the following command.


The license file location will be asked.

Choose the typical installation type if you are not familiar with ArcSight Logger indexing, storage groups, and storage volume. Also don’t forget that the L750MB will not permit you to go above a theoretically 50GB storage. As described above we will change to Storage Groups settings further.

When the complete configuration is finished we recommend you to not start directly the logger and reboot the server.

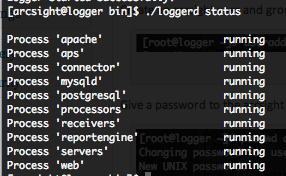
After the reboot log you on the server with the arcsight user to start the logger with the following commands.

The “loggerd” command is located in “/home/arcsight/current/arcsight/logger/bin” directory. If the startup is successful you will have this return.

The “loggerd” command can have these following arguments.

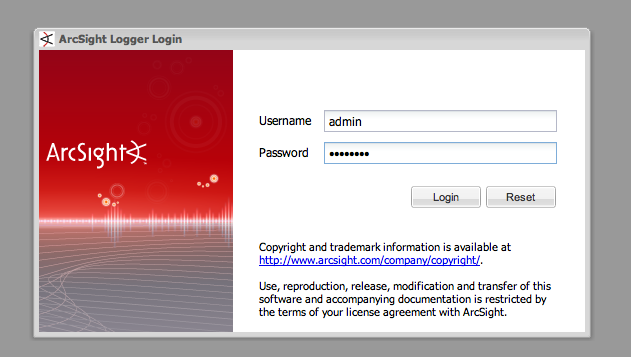
Now you can log in ArcSight Logger Web interface on port 9000 with https and you will have the following login page.

The default login is “admin“, and the default password is “password“, please change it 🙂 To change your password just go in the “System Admin” menu, then in the “Change Password” sub-menu.

To change the Storage Groups settings just go in the “Configuration” menu, then in the “Storage” sub-menu.
You have now an up and running logger, in a next blog post we will install the L750MB SYSLOG SmartConnector on a dedicated Linux server and the “SNARE” software on Windows to have our first events.


