 Metasploit include a bridge plugin between the penetration testing framework Metasploit and the vulnerability management scanner NeXpose from Rapid7. This blog post will describe on how to use the basic commands of this bridge plugin.
As pre-requirements to use the NeXpose bridge plugin, you need first to use Metasploit with a database backend. To connect Metasploit to a database backend just follow the “db_connect” command :
The “db_connect” command will create automatically the database and related tables.
To verify the database connection you can use the “db_status” command.
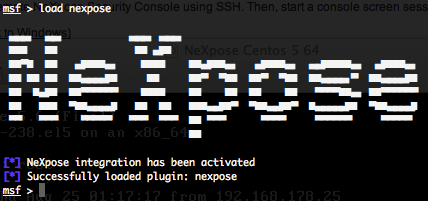
You can now load the NeXpose bridge plugin with the “load nexpose” command.
Generic commands
- Connecting to NeXpose – nexpose_connect :
To connect to NeXpose, just type :
nexpose_connect login:password@nexpose_ip:port <ssl ok>
“login” and “password” variables are you’re NeXpose user login and password. “nexpose_ip” variable is the IP address or the hostname of NeXpose instance. “port” variable is the port where NeXpose is listening, by default 3780/tcp. “ok” variable is for letting you know that nessus use a self signed certificate and that risks are present.
- Logout from NeXpose – nexpose_disconnect :
To disconnect from NeXpose, just run the following command :
- Checking NeXpose system information – nexpose_sysinfo :
To check the NeXpose system information (db version, java informations, uptime, installation directory, free memory, last update id, etc.), run the following command :
NeXpose Useful Commands
- Getting help for NeXpose commands – nexpose_command help :
To have a complete list of all NeXpose commands, just run the following command.
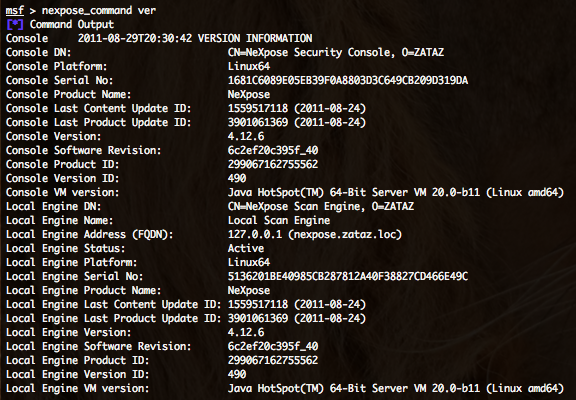
- Getting NeXpose versions informations – nexpose_command ver :
- Updating NeXpose engines – nexpose_command update engines :
- Check and apply NeXpose updates – nexpose_command update now :
- Getting NeXpose server scheduled jobs – nexpose_command schedule :
- Getting a NeXpose database diagnostics- nexpose_command database diagnostics :
The following command will check the database for inconsistencies, such as multiple entries for an asset.
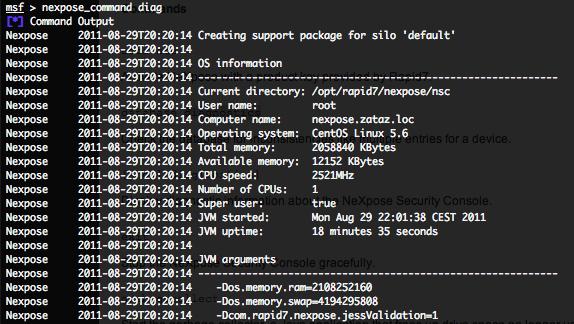
- Getting a complete NeXpose diagnostics – nexpose_command diag :
The following command will display diagnostic information that may be useful for debugging or monitoring of activity.
- Stopping NeXpose – nexpose_command exit or nexpose_command quit :
These both commands will stop the NeXpose server.
- Restarting NeXpose – nexpose_command restart :
- Ping a host from the NeXpose server – nexpose_command ping HOST [PORT] :
- Traceroute from the NeXpose server – nexpose_command traceroute HOST :


hi’
i want create useracount in nexpose.but i can’t do it.please help me’
tnx.
Hello yogesh,
You have miss the port and also the “ok” parameter.
nexpose_connect login:password@nexpose_ip:port
For your :
nexpose_connect root:[email protected]:3780 ok
But also check that NeXpose is listening on 127.0.0.1.
Regards
nexpose_connect root:[email protected] not working please help me to connect to nexpose all is done but this wont works.